Introduction
- Briefly introduce LED strip lights as a popular choice for home and commercial lighting.
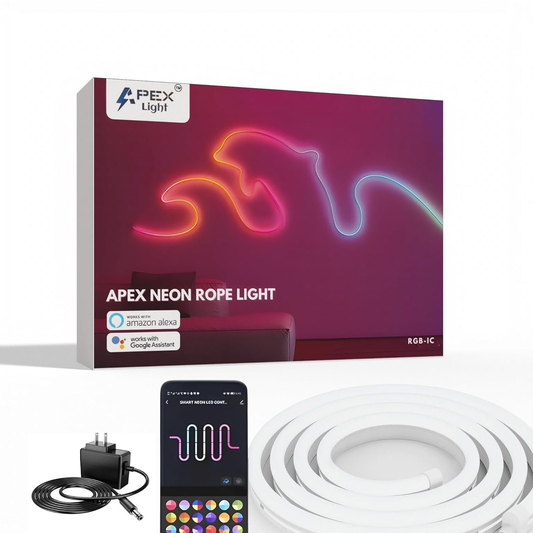
- Mention Apex LED Strip Lights as a top-quality option for easy installation and enhanced ambiance.
- Highlight what the reader will learn in this guide.
1. Understanding LED Strip Lights
1.1 What Are LED Strip Lights?
- Overview of LED strip lights and their structure (LED chips on a flexible circuit board).
- Various applications: accent lighting, under-cabinet lighting, TV backlighting, etc.
- Different types available (single-color, RGB, smart app-controlled).
1.2 Why Choose Apex LED Strip Lights?
- Superior brightness and durability compared to competitors.
- Advanced adhesive backing for secure installation.
- Smart app control for customization.
- Energy-efficient and long-lasting performance.

2. Essential Equipment and Materials for Installation
2.1 What You’ll Need Before Installing LED Strip Lights
- Apex LED Strip Lights (choose based on length and color preference).
- Power adapter and controller.
- Scissors or wire cutters for custom length adjustments.
- Strip connectors or soldering tools (if required).
- Surface cleaner for better adhesion.
- Measuring tape to ensure precise installation.
2.2 Preparing Your Installation Space
- Selecting the right location for optimal lighting effect.
- Measuring the space and planning where the LED strips will be placed.
- Cleaning the surface to remove dust and debris for strong adhesive grip.
3. Step-by-Step Guide to Installing Apex LED Strip Lights
3.1 Measure and Mark the Placement Area
- Use a measuring tape to determine the required LED strip length.
- Mark key areas, especially corners and edges where the strip will bend.
3.2 Cleaning and Preparing the Surface
- Clean the installation area using a cloth and mild cleaner.
- Ensure the surface is completely dry before applying the LED strip.
3.3 Cutting and Connecting the LED Strips
- How to cut LED strips at designated cut points.
- Using connectors or soldering for seamless joining of multiple strips.
- Properly aligning positive and negative terminals when reconnecting.
3.4 Applying the LED Strip to the Surface
- Peel off the adhesive backing and firmly press the strip onto the surface.
- Use additional clips or mounting brackets for a stronger hold, if needed.
3.5 Connecting to Power and Testing
- Attach the LED strip to the power adapter and plug it in.
- Turn on the lights and check for uniform brightness and proper functioning.
- Troubleshooting minor issues (e.g., flickering, loose connections).
4. FAQs: Common Questions About LED Strip Light Installation
4.1 Do LED Strip Lights Get Hot?
- Explanation of how Apex LED Strip Lights generate minimal heat for safe usage.
4.2 How Do Apex LED Strip Lights Connect to Power?
- Details on using the Apex power adapter for easy plug-and-play functionality.
4.3 Do LED Strip Lights Increase Electricity Bills?
- Discuss energy efficiency and how Apex LED lights consume low power.
4.4 Can LED Strip Lights Be Repaired?
- Simple fixes for common issues like dead LEDs, broken connections, or power supply failures.
5. Why Choose Apex LED Strip Lights Over Others?
5.1 Smart Features and Smart Life App Control
- Control brightness, colors, and effects via the Smart Life App.
5.2 Superior Build Quality and Durability
- Long lifespan, flexible design, and water-resistant options for versatile applications.
5.3 Easy Installation for DIY and Beginners
- Pre-installed adhesive and user-friendly setup guide make it simple for everyone.
Conclusion
- Recap the benefits of installing LED strip lights for enhanced ambiance and functionality.
- Highlight why Apex LED Strip Lights are the best choice for a hassle-free experience.
- Encourage users to explore Apex’s range of LED strip lights for their lighting needs.